Good day, I guess you are having a "codie" day.
Today, I will putting you through, how to make use of a gates. As we all know laravel provides an out of the box authentication system, that makes implementation of authentication feel less painful.
Developers often confuse Authentication with Authorization. The major thing one must have in mind is that, Authorization comes after Authentication. When the system Authenticates you, by you providing some credentials such as username and password, It can then check if you are allowed to perform some certain functions such as edit a post, delete a post, that is authorization.
Laravel provides two good ways of providing authorization , which are GATES and POLICY.
We can think of gates and policies like routes and controllers. As it is explained in the documentation, gates provide a simple, Closure based approach to authorization while policies, like controllers, group their logic around a particular model or resource. We'll explore gates in this article
Most applications will most likely contain a mixture of gates and policies, and that is perfectly fine! Gates are most applicable to actions which are not related to any model or resource, such as viewing an administrator dashboard. In contrast, policies should be used when you wish to authorize an action for a particular model or resource.
Writing Gates
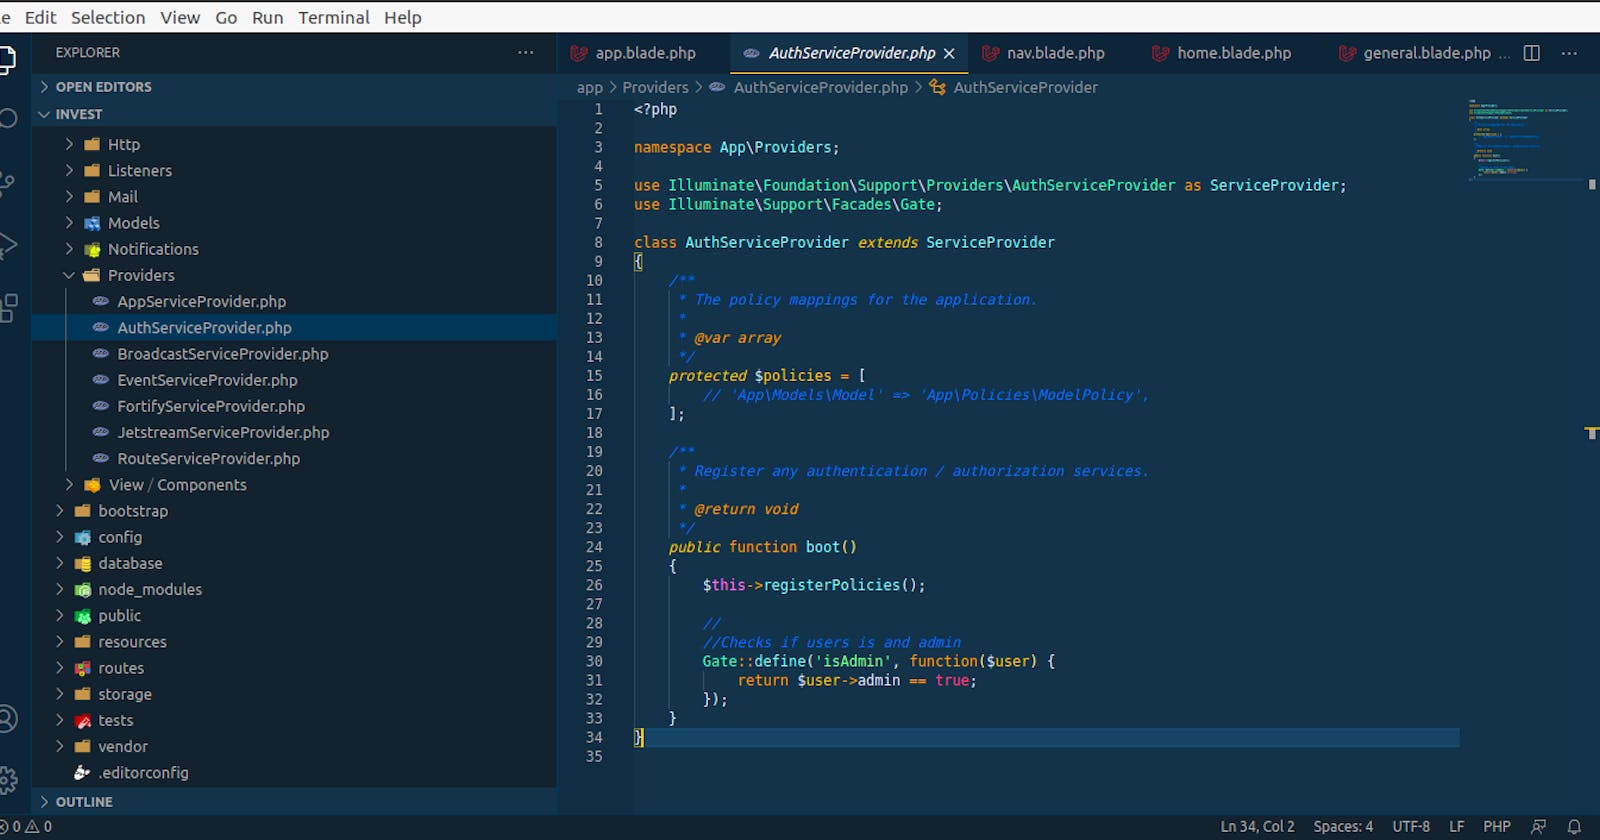
We define our gate in the App\Providers\AuthServiceProvide Here, I have defined two gates as per our role base requirement. I’m creating two types of gates such as isAdmin and isGuest.
<?php

namespace App\Providers;

use Illuminate\Foundation\Support\Providers\AuthServiceProvider as ServiceProvider;
use Illuminate\Support\Facades\Gate;

class AuthServiceProvider extends ServiceProvider
{
    /**
     * The policy mappings for the application.
     *
     * @var array
     */
    protected $policies = [
        // 'App\Models\Model' => 'App\Policies\ModelPolicy',
    ];

    /**
     * Register any authentication / authorization services.
     *
     * @return void
     */
    public function boot()
    {
        $this->registerPolicies();

        //
        //Checks if users is an admin. . returns true if the user is an admin
        Gate::define('isAdmin', function($user) {
            return $user->admin == true;
        });

 //Checks if user is a guest. returns true if the user is a guest
        Gate::define('isGuest', function($user) {
            return $user->guest == true;
        });
    }
}
Use Gate with Middleware
When we define our application routes then we can use the default middleware “can:” as given below.
// Only Admin are allowed to visit this routes
Route::middleware('can:isAdmin')->group(function () {
    // Register all the amin routes
    Route::get('/', 'AdminController@index');
});
Use Gate in Blade Template
If we want to display a portion of the page when the user is authorized to perform a given action. Here, you can use the “@can” and “@cannot” directives. In a situation whereby, you have to show two different sidebar navitems to user based on role, you can use this.
@can('isAdmin')
<h2>Admin View</h2>
     @include('adminlinks')
@else
<h2>Guest View</h2>
      @include('guestlinks')
 @endcan
Use Gate in Controller
In the controller, there is two ways to implements the Gates. Laravel provides us with the following methods.
- allows — Checks if the given ability passes.
- denies — Negates the allows conditions.
- check — Checks if a single or array of abilities are allowed.
- any — Checks if any of single or array of abilities passes.
- none — Negates the any conditions.
- authorize — Checks if the ability is allowed or throws an Illuminate\Auth\Access\AuthorizationException exception.
/**
 * Example 1
 * @return Error Message
 */
public function index()
{
    if (\Gate::allows('isAdmin')) {
        echo 'Admin user role is allowed';
    } else {
        echo 'Admin are not allowed not allowed';
    }
}
/**
 * Example 2
 * @return 403 Error
 */
public function index()
{
    $this->authorize('isGuest'); // return 403
}
