

Good day, I guess you are having a "codie" day. Today, I will putting you through, how laravel Middleware works.
HTTP request filtering is one of the most important functionality in Web Applications. The laravel php framework provides this functionality out of the box, with just few setup.
If you want to know how to use laravel gates work, then follow my article Laravel Authorization with Gates
What is laravel middleware ?
Middleware provide a convenient mechanism for inspecting and filtering HTTP requests entering your application. For example, Laravel includes a middleware that verifies the user of your application is authenticated using the "Auth" middleware. If the user is not authenticated, the middleware will redirect the user to your application's login screen. However, if the user is authenticated, the middleware will allow the request to proceed further into the application.
There are several middleware included in the Laravel framework, including middleware for authentication and CSRF protection. All of these middleware are located in the app/Http/Middleware directory.
In very simple terms, middleware is just like that middle layer between your HTTP request and response.
A real life scenario is, imagine a set up whereby if you need to speak to your Boss, but you must always go through HR to get your response.
Your request is the HTTP request e.g (/admin/dashboad), the HR is the middleware(checks if you have the authority to visit the page) while the response you get is your HTTP response( if you can visit the page, the request goes through, else you get an unauthorized response).
Implementing middleware
I will be implimentin the middleware using a scenario of an application have two types of user. We will be checking whether the user is an admin or not.
Step 1: Create a laravel application
laravel new middleware
Step 2: Create Migration
So go to your user's table migration file and add one more field called isAdmin, and its data type is boolean as shown below .
  public function up()
    {
        Schema::create('users', function (Blueprint $table) {
            $table->increments('id');
            $table->string('name');
            $table->string('email');
            $table->string('password');
            $table->boolean('isAdmin')->default(false);
            $table->rememberToken();
            $table->timestamps();
        });
    }
Now run migration with
php artisan migrate
The next step is to create Authentication functionality provided by Laravel. So type following in your terminal.
In Laravel 8 use
composer require laravel/jetstream
In laravel 7 or 6 use
php artisan make:auth
So the authentication scaffold will generate successfully. Start the server by typing the following command.
php artisan serve
Now create three users. So go to the following URL: http://127.0.0.1/:8000/register
Right now, if you look at the migration right now, our isAdmin column has a default value of false, which means user been created won't be an admin.
Remember, in the real-time web application, we will need to provide some interface to give administrative rights.
Here I am just showcasing you that how you can deal with admin middleware after sign in the form.
So, for now, assign any user’s isAdmin field to value one manually in the database by changing the value to "true".
Step 3: Make one basic Laravel Middleware
Create one middleware by typing following Laravel Command.
php artisan make:middleware Admin
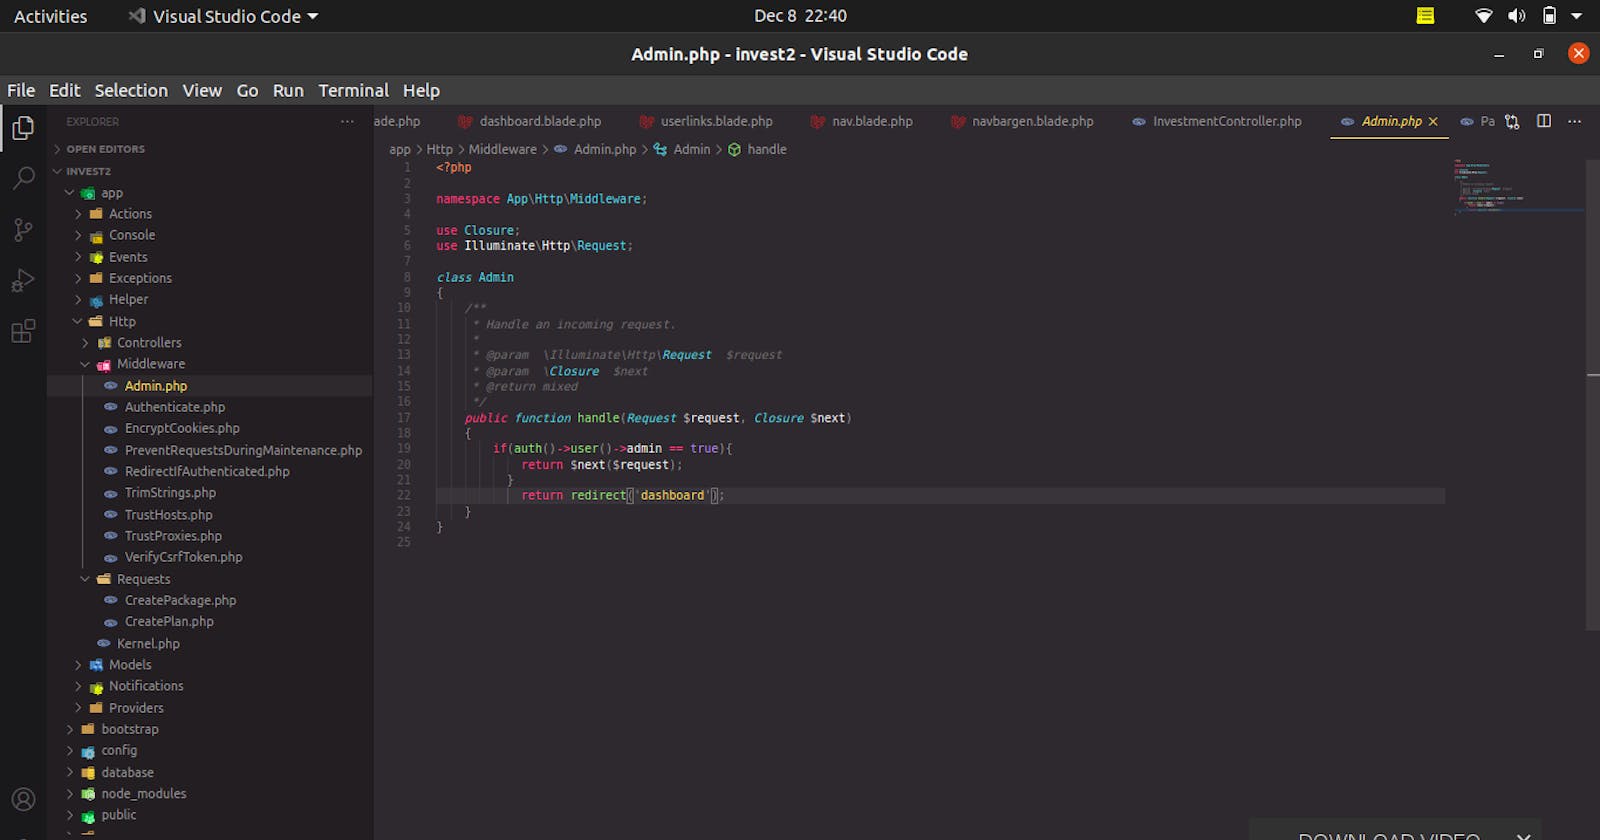
Navigate to the following directory. app >> Http >> Middleware >> Admin.php . There is mainly one function you have to deal with, and that is handle() In this handle function is where we will put our logic to filter the the request coming into the application, if the condition is satisfied, the next destination otherwise, it will back to the specified redirected route.
 /**  Admin.php
     * Handle an incoming request.
     *
     * @param  \Illuminate\Http\Request  $request
     * @param  \Closure  $next
     * @return mixed
     */
    public function handle($request, Closure $next)
    {
      if(auth()->user()->isAdmin == true){
        return $next($request);
      }
        return redirect('home')->with('error','You don't have admin access');
    }
As you can see, if the given user is not an admin, the middleware will return an HTTP redirect to the client; otherwise, the request will be passed further into the application. To pass the request deeper into the application (allowing the middleware to "pass"), you should call the $next callback with the $request.
Step 4: Registering middleware
Global Middleware If you want a middleware to run during every HTTP request to your application, list the middleware class in the $middleware property of your app/Http/Kernel.php class.
Assigning Middleware To Routes If you would like to assign middleware to specific routes, you should first assign the middleware a key in your application's app/Http/Kernel.php file. By default, the $routeMiddleware property of this class contains entries for the middleware included with Laravel. You may add your own middleware to this list and assign it a key of your choosing:
I will be registering the middleware as a route middle ware in this tutorial
// Within App\Http\Kernel class...

protected $routeMiddleware = [
    'auth' => \App\Http\Middleware\Authenticate::class,
    'auth.basic' => \Illuminate\Auth\Middleware\AuthenticateWithBasicAuth::class,
    'bindings' => \Illuminate\Routing\Middleware\SubstituteBindings::class,
    'cache.headers' => \Illuminate\Http\Middleware\SetCacheHeaders::class,
    'can' => \Illuminate\Auth\Middleware\Authorize::class,
    'guest' => \App\Http\Middleware\RedirectIfAuthenticated::class,
    'signed' => \Illuminate\Routing\Middleware\ValidateSignature::class,
    'throttle' => \Illuminate\Routing\Middleware\ThrottleRequests::class,
    'verified' => \Illuminate\Auth\Middleware\EnsureEmailIsVerified::class,
    'admin'    => \App\Http\Middleware\Admin::class,
];
Once the middleware has been defined in the HTTP kernel as have done above, you may use the middleware method to assign middleware to a route:
Now, if we want to assign any route to this middleware admin, then these routes now protected and only accessible when an authorized user is admin; otherwise, it will redirect to the homepage.
Step 5: Admin protected route middleware.
We will create one route, which needs to be admin protected, and if the user is not an admin, then it will redirect to the home page; otherwise, he can access this page.
<?php
// web.php
Route::get('admin/routes', 'HomeController@admin')->middleware('admin');
<!-- home.blade.php -->

@extends('layouts.app')

@section('content')
<div class="container">
  @if(\Session::has('error'))
    <div class="alert alert-danger">
      {{\Session::get('error')}}
    </div>
  @endif
    <div class="row">
        <div class="col-md-8 col-md-offset-2">
            <div class="panel panel-default">
                <div class="panel-heading">Dashboard</div>

                <div class="panel-body">
                    <a href="{{url('admin/routes')}}">Admin</a>
                </div>
            </div>
        </div>
    </div>
</div>
@endsection
<?php
Now, all we need is to code the admin function resides in HomeController.
// HomeController.php

namespace App\Http\Controllers;

use Illuminate\Http\Request;

class HomeController extends Controller
{

    /**
     * Show the application dashboard.
     *
     * @return \Illuminate\Http\Response
     */
    public function index()
    {
        return view('home');
    }

    public function admin()
    {
        return view('admin');
    }
}
Route::get('admin/routes', 'HomeController@admin')->middleware(['admin','auth']);
Step 6: Make one blade file. Create one view called admin.blade.php in the root of the views folder.
<!-- admin.blade.php -->
<!DOCTYPE html>
<html>
  <head>
    <meta charset="utf-8">
    <title>ADMIN PAGE</title>
  </head>
  <body>
    WELCOME TO ADMIN ROUTE
  </body>
</html>
Now go to the login page and logged in with the isAdmin field 1